
In this articel we will learn how to Install Portainer CE with docker. Portainer is a lightweight management UI that allows you to easily manage your Docker environments, providing a visual interface for deploying and monitoring Docker containers.
Step 1: Prerequisites
Before you install Portainer, make sure you have:
- Docker installed on your system. You can verify this by running:
docker --versionIf Docker isn’t installed, you can follow the Docker installation guide for your operating system.
- Sudo or root user privileges** to run Docker commands.
Step 2: Pull the Portainer Image
To install Portainer, you first need to pull the Portainer Docker image from Docker Hub:
docker pull portainer/portainer-ce

# or with spesific version
docker pull portainer/portainer-ce:2.21.4
This command downloads the latest community edition of Portainer.
Step 3: Create a Docker Volume for Portainer Data
Portainer uses a Docker volume to persist its data. Create a volume called portainer_data:
docker volume create portainer_dataThis ensures that Portainer’s data is stored outside the container and will not be deleted when the container is removed or updated.
Step 4: Run the Portainer Container
Now, run Portainer as a Docker container using the following command:
docker run -d -p 8000:8000 -p 9000:9000 \
    --name portainer --restart=always \
    -v /var/run/docker.sock:/var/run/docker.sock \
    -v portainer_data:/data \
    portainer/portainer-ce
Here’s what each part of this command does:
- -d: Runs Portainer in detached mode (in the background).
- -p 8000:8000 and -p 9000:9000: Maps Portainer’s ports to your system ports.
- Port
9000is the main web interface. - Port
8000allows Portainer to communicate with Edge agents. - –name portainer: Names the container “portainer” for easier management.
- –restart=always: Ensures Portainer automatically restarts if Docker or the server reboots.
- -v /var/run/docker.sock:/var/run/docker.sock: Enables Portainer to communicate directly with the Docker engine.
- -v portainer_data:/data: Mounts the
portainer_datavolume for persistent storage.
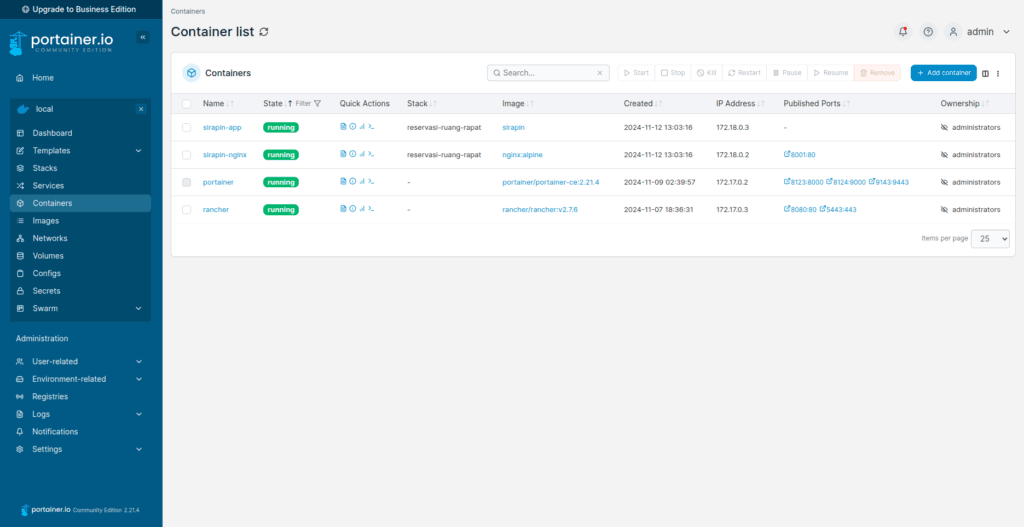
Step 5: Access the Portainer Web Interface
Once the container is running, you can access the Portainer web interface:
- Open a web browser.
- Go to
http://localhost:9000(or replacelocalhostwith your server’s IP if accessing remotely).
Step 6: Set Up Portainer
The first time you access Portainer, you’ll be prompted to create an admin account:
- Enter a username and a strong password.
- Select the Docker environment type.
- Click Connect to start managing your Docker environment with Portainer.
![]()